Downloading & configuring Oracle VM in VirtualBox
1 – Download VirtualBox from below link:
http://www.oracle.com/technetwork/server-storage/virtualbox/downloads/index.html
2 – Download Tuxedo Virtualbox Disk image(VDI) for Tuxedo from below link
http://download.oracle.com/otn/other/virtualbox/tuxedo/tuxweb.7z
OR
http://www.oracle.com/technetwork/middleware/tuxedo/downloads/index.html
& look for Tuxedo Web Application Server Demo VM
Uncompress the 7zip archive and you will get below file, OEL Tux Web Demo.vdi
You can download many other appliances as well from below link:
http://www.oracle.com/technetwork/community/developer-vm/index.html
3 – Install the Virtualbox as per usual steps.
You should have virtualization enabled in BIOS for the system
4 – Start Virtualbox & click on Choose New , give name as Oracle, it will automatically select oracle linux, click next
5 – Choose Amount of physical ram , 4GB recommended for smooth operations
6 – Choose “Use an existing virtual hard drive” – select “OEL Tux Web Demo.vdi”
7 – Select the virtual machine just created in step#6, and click on start, startup will resume in new window.
8 – for best experience choose full screen mode, credentials for logon – tuxweb/tuxweb
9 – You can create shared folder under VM settings if you want to copy/paste data between linux & host OS(windows), you will need to copy/paste via root user in linux to/from windows
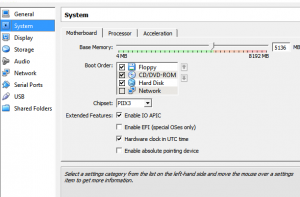
PS – In case of unexpected errors try to select below options & see if it helps
- Select VM & click on settings – System->Acceleration ->Select “Enable VT-x/AMD-v”
- System->Processor -> “Enable PAE/NX”

